Next in my series of bias tape blog posts, I will be showing how to attach a bias tape binding to a quilt and how to join the ends of the binding. This can seem pretty intimidating, but it actually pretty simple.

I will be using single fold bias tape. Double fold bias tape will also work.
I start by unfolding the bias tape, but keeping the creases for reference marks.
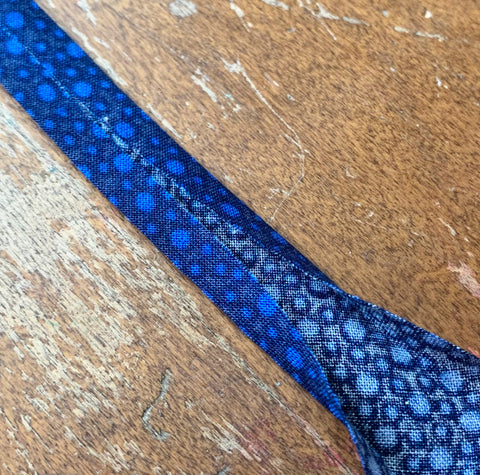
As you can see in the bottom right of this next picture, I line up the raw edge of the bias tape with the raw edge of quilt, right sides together. I then sew in the crease closest to the edge.

Leave about 5 inches of overlapped binding, and an 8 inch gap in stitching between the beginning and the end of your bias tape. As you can see in this picture, I did not follow my own advice and only left a few inches of gap. This just gives me a smaller space to work with.

Now it is time to join the ends.
To give you an idea of what we are trying to do. We are going to join the ends on a diagonal so there is less bulk in the binding. Like in the picture below.

I start by laying one side flat and making a 45 degree crease in the binding so that it is now pointing perpendicular to the edge of the quilt. Press this crease so you have it for a reference point.

Next, lay the other end of the binding on top of the new crease. So the left side of the binding is on the right side of the binding.

Cut the binding where indicated with the white line in the picture. It will need to line up with the edge of the that was creased.

This is what it will look like after it is trimmed.

Pin the two edges of binding together. I have them pinched together, but pinning is best. if you lift the quilt up from the binding like this, you will see how to get some room for sewing. Sew in the diagonal crease that you created on the right side of the binding.

This is what it should look like. At this point your binding should lay pretty flat to the quilt. If there is bunching or if it is too loose, now if the best time to try again.

Trim back the binding ends. press if you would like.

Now you can finish stitching the binding in the gap that was left.
Then, turn the bias tape over to the other side of the quilt. Sew it on using hand stitching to hide the stitches, or machine stitching, for a quick and easy finish. The creases in the bias tape make it easy to keep the binding a consistent width and sharp looking.

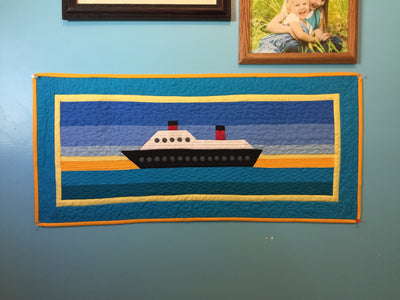
I did a machine stitch in black thread. This is a simple wall hanging that didn't need anything fancy.
This blog post is the next in a series of posts about binding. Check out the other posts below.
How to Make Bias Tape Using a Bias Tape Maker
The Difference Between Single and Double Fold Bias Tape
How to Join the Edges of Binding and Sew on Bias Tape
If you have any questions or comments about bindings, leave a comment below!
Have fun quilting!
Thank you for the simple explanation. I have tried a few different ways, but this seems so easy to do. I will try this for my next quilt.