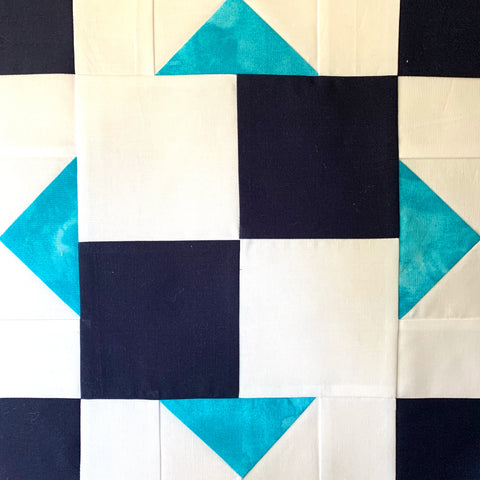
Join me this year as I provide instructions for how to make a different quilt block each month. Eventually, all these blocks will turn into a great quilt! For the month of November, we are making the Chained Nine Patch Quilt Block.
For a 12 inch finished block (12.5 inch unfinished), you will need to cut the following:
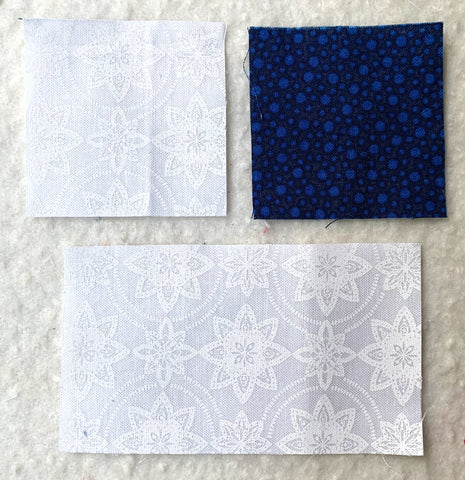
White
- 8 of 2 1/2 x 2 1/2 inch squares
- 4 of 3 x 3 inch squares
- 2 of 4 1/2 x 4 1/2 inch squares
Light Color
- 1 of 5 1/4 x 5 1/4 inch square
Dark Color
- 2 of 4 1/2 x 4 1/2 inch squares
- 4 of 2 1/2 x 2 1/2 inch squares

Sew
Create the flying geese units. Use the Four-In-One Flying Geese method. Use the white 3 inch squares and the light 5 1/4 inch square. Draw a line, corner to corner, on the wrong side of all the white 3 inch squares. Lay two small white squares on two diagonal corners of the light 5 1/4 inch square, right sides together, as shown in the picture.

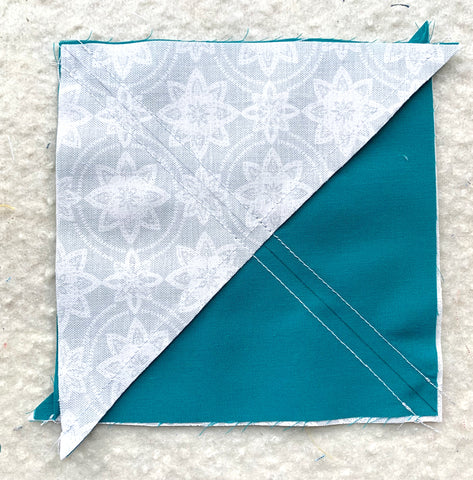
Stitch a scant 1/4" away from both sides of the line.

Cut on the drawn line and press to the dark side.

Next, match another small white square into the corner of the large triangle as shown in the picture.

Stitch a scant 1/4" from both sides of the line. Cut on the line and press to the dark side.

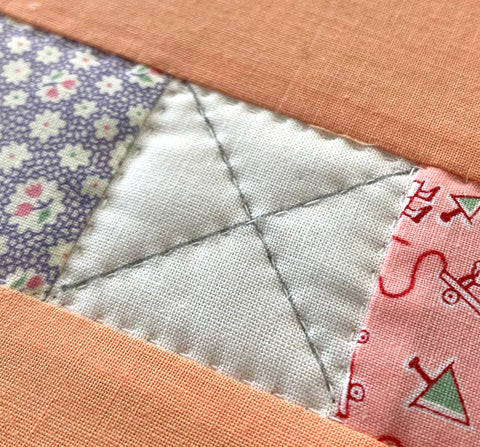
Trim down each flying geese unit to 4 1/2" x 2 1/2". Make sure you stay 1/4" away from the top point of the flying geese so you don't loose your point when you sew it.
You should now have 4 total flying geese.
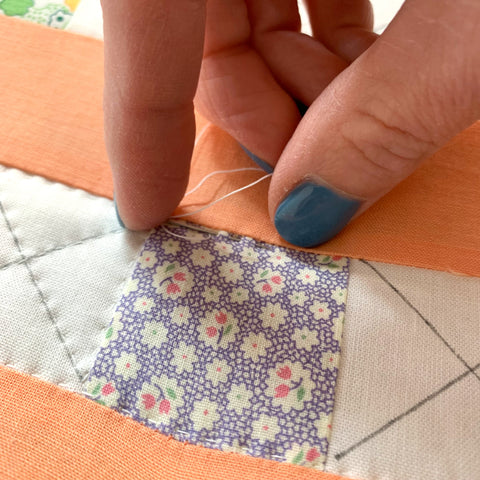
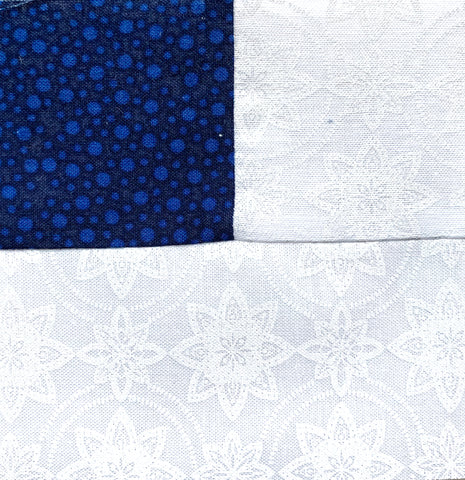
Layout the flying geese and the 2 1/2 inch squares to match side strips in the picture and stitch them together in rows.

Using the 4 1/2 inch squares, create the four patch block.

Attach the shorter flying geese side strips to the sides of the four patch.

Sew on the longer flying geese side strips to the top and bottom of the four patch.
If you have any questions, please leave a comment below.
Check back each month for a new How-To tutorial of different quilt blocks! To see the other blocks, just search my blog for Quilt Guild Block of the Month.
This block will be available as a PDF digital download later on, but please check out the other blocks that are available for download here.
(This is classic block that has been designed by many people but these instructions are written by me.)
Have fun quilting!
]]>