Yo-yos are so much fun to make. They are quick and easy, and add a splash of texture and dimension to any quilt.
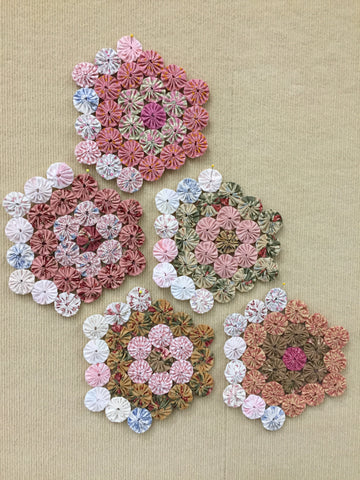
Today I was quilting with a quilt group at LDS Hospital in Salt Lake City. They make quilts and auction them off to raise money for the hospital. This year they are making a yo-yo quilt. It is going to look great!
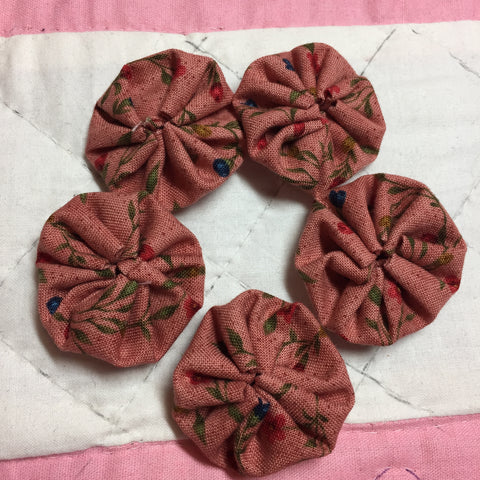
Here is the progress so far.
They asked everyone to make at least 4 yo-yos every time they come quilt. So as I make my contribution, I will show you how it is done.
Start with a fabric circle. The diameter of this circle should be the finished diameter that you want, double it, then add a quarter inch.
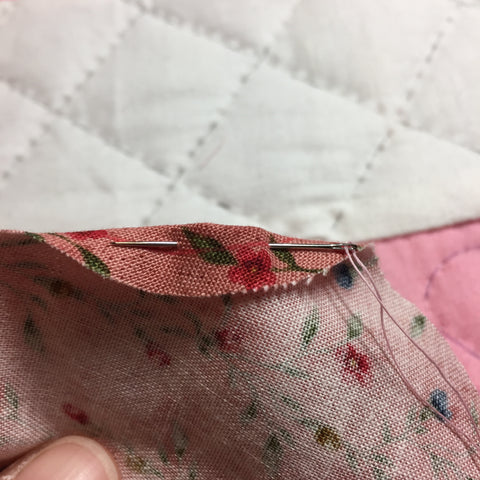
Draw a circle on the fabric that is a quarter inch away from the edge.

Next you fold down the fabric inside the line as you go, and make quarter inch or larger stitches. The smaller the stitches, the bigger the hole in the center will end up.
Go all the way around the circle. Do not tie it off at the end yet.
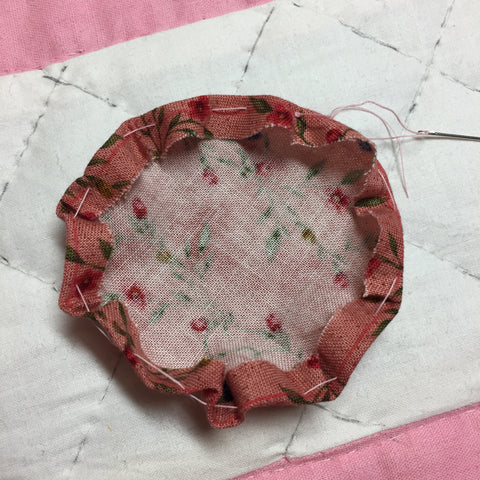
Gently pull the thread to make the fabric gather. You will need to form it into a lovely yo-yo shape.
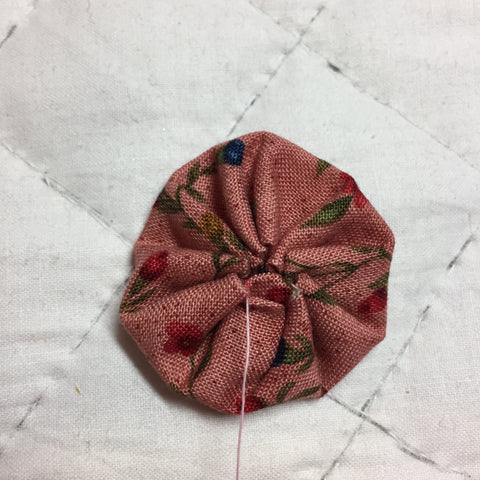
Next, make a tiny stitch through the back.
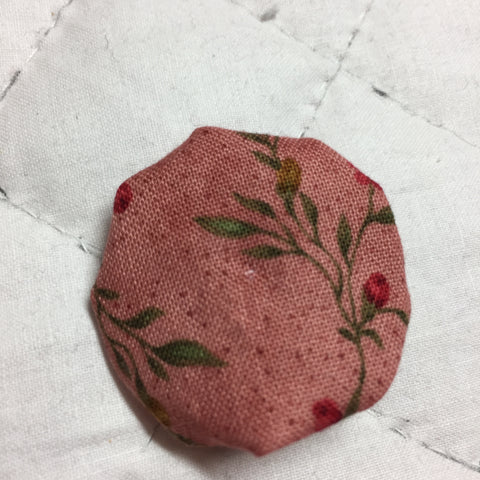
Then make a knot and tie it off on the inside of the yo-yo. Or if the back of your yo-yo will not be seen, you can make the knot on the back.
Now you are finished! They are great little embellishments for quilts. I have stay stitched them to quilts instead of tying the quilt with yarn. I have also seen them appliquéd on quilts as flowers. It is quite cute!
It is a fun little project you can take in the car on a road trip, or to watch a game.
Enjoy making your yo-yos and have fun quilting!