We have been getting ready for school and have been doing some Back to School sewing. My daughter asked for a notebook cover. It is such a great way to turn a boring notebook into something original. (This will also work for textbooks and any other books.)
To make a notebook cover, You will need about 1/2 a yard of fabric and a notebook.

Cut the fabric so that there is an inch above and below the top and bottom of the notebook. (i.e This notebook is 11 inches tall + 2 inches)


Layout the fabric so it is a single layer. Open the notebook to the back cover. Fold the fabric over to 1/4 inch past where you want to lay. I want deep pockets on this one. Pin in place.

Follow the same procedure for the other side.

Pin the fabric as a marker for where you want it to be cut.

Close the notebook with the fabric in place to make sure there is enough room for the binding of the notebook. Adjust as necessary.

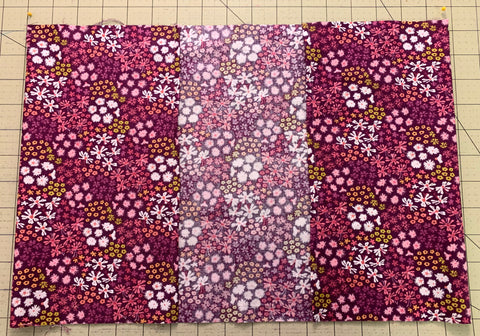
Then, take the notebook out and cut the fabric at the marked edge. Mark the folds. I used pins but you can also use chalk or other marking tools. You can see my pins in the top corners of the picture.

Finish the short edges of the fabric by folding it over an 1/8th of an inch, twice. Then stitch it in place. Repeat on the other side.

Here it is with the short edges of the fabric finished.

Turn it inside out.

Finish the top and bottom edges by rolling the fabric the same way. Fold the fabric toward the wrong side. That is the side that is facing the cutting mat in the picture.

Turn it right side out. This is what is looks like at this point. You now have two pockets.

Sew down the top and bottom seam between the two pockets.

It will look like this.

Now you are finished! Feel free to add decorations like ribbons, iron ons, and appliques. You can also use fabric markers to decorate it.

I threaded some black yarn through the wire binding on the inside and tied it on the outside.

The side pockets are great for carrying things. Pencils, notes, etc.

This would also be great with pieced blocks, orphan blocks, and scrap fabric.
Have a great school year and have fun quilting!

Love this! Going to make them for my Granddaughter for college